Pages

Women's Retreat 2010


This year I was blessed to be able to attend our church's women's conference in Destin. We stayed in the Hilton right on the beach. We were on the 11th floor, if I remember correctly. Regardless, we had an awesome view! It is always so much fun to get away with my friends for a girls night out, so being able to escape for an entire weekend is more than I can put into words. Having newborn twins and raising three other small children was very taxing on me, and I welcomed the chance to get refreshed in the Word and in my relationshops within my friends. I was also priveleged to share my testimony with all of the ladies on Friday night. I can't wait until the next one! I'll be one of the first to sign up :P Here's a layout that I created to remember the trip. Hope you like it! I used Carina Gardner's Pretty Posy Kit. She gave it away for free on Facebook :)
Today I went with Jonathan to work. I think it was good for me to see what he does everyday. First we went to do a measurement in Navarre. It was new construction - a HUGE house in Navarre on the Bay. The homeowner was very nice and I think that t

What an unexpected evening....


What a great day this has turned out to be! When Jonathan came home from work, I was just finishing up my post with the layout of the twins bathtime. He asked me to go pick something up at my mom & dad's house for him. I left all the kids with him, and savored the ride across town. I blared the radio and sang along with every song that I knew. It was so nice to get away from the chaos that makes my daily life every once in a while. When I got to my mom's house, she had dinner made. It was still hot, and there were plenty of leftovers so I made a plate. Well, two plates actually...but who's counting anyways? I visited with them a bit, and then decided to do a little shopping on my way home. Of course, Joann's was was the first stop. I haven't been there in over a month or more I bet. I walked up and down every aisle of the scrapbooking section twice, and once through every part of the fabric department. Believe it or not, I didn't find anything that I felt as though I had to have. I guess that's a good thing since I went to Ross afterward. I found a new rug for my living room. It's awesome! A fuzzy frieze carpet with ZEBRA print. Woohoo! Don't you know ZEBRA is my favorite color? I had to have it. And I must say it looks pretty good in my living room. My final stop was Publix, where I was supposed to return a movie that we picked up for the kids two days ago...they never finished watching it so they asked me to rent it again, and while I was there I couldn't help myself from picking up two more for me and Jonathan. Summer TV sucks! So I watched Valentine's Day, all by myself, while I worked on the layout featured here in my post. Two layouts in one day...Watch out now :) I am about to be back!
The layout was made using Crystal Wilkerson's rounded corner templates and Carina Gardner's Very Cherry Kit. If any of my readers need more details than that, let me know :)

Splish Splash We're Taking a Bath!


Today was pretty uneventful. Just the usual Monday stuff - cleaning and laundry and such. The older kids are really wanting to earn money now, so I tried to teach them how to do some of the "chores". Honestly, it is just kinda frustrating. It takes longer to show them how to do it, and it seems like showing them how to do it just prolongs the work I already dislike! Oh well, a day in the life of a mom! I know it will be rewarding when they can actually do it on their own so for now I cling to that hope! I did actually go outside with them today, too. It was kinda nice if you don't count all of the refereeing that had to be done. I got a little bit of sun, and they had fun playing in the waterhose. I managed to get quite a few really good pictures of them playing together.


After we came in for lunch, they had quiet time and I worked on a digi layout of the twins. I debated a lot on whether or not to do them each a page of their own, but decided against it since they do get their baths together. Well, one right after another anyways :) I used the October Digi Doables Template from A Cherry on Top for the layout, and the Mischief Kit from Bella Gypsy. I converted the photos to B&W because I had a hard time finding paper to match. The stainless steel sink and granite countertops were clashing with the girly pink bathtub. I didn't add anything extra to the template, and I couldn't figure out how to grasp and manipulate the curvy text, so I deleted it and added my own text bubble. I am happy with the way it turned out, but I feel like there's something missing still. What do you think?


Finally....

Finally, I can see some light at the end of my tunnel! I am so excited to get back to blogging and scrapbooking and creating. I have missed it so much. It has been crazy in my house since we found out we were expecting the twins almost two years ago. Things are finally starting to settle into a routine where I feel as though I might have enough time to concentrate on my hobbies again.The twins are both crawling now, and becoming more independent. Kagen has really matured and is getting better at entertaining himself. He also keeps me company as I do my work around the house. Kalyn and Caleb will be starting school next month. Things are about to be much less noisy in my house during the day. If only I could get those babies to take a nap now...

Baby Goats Layout


I made this layout a couple of weeks ago. The pictures were taken on a beautiful sunny day and they printed in beautiful color! I knew I had to use this patterned paper for my background! I love polka dot patterns :) It made it so easy to coordinate the solid cardstock colors. I also like how the journaling on the bottom half of the half circle turned out. I printed it on scrap paper first, and then used repositionable adhesive to place the cardstock directly over the spot that it had already printed again.
Materials Used:
DCWV Patterned paper & cardstock
Martha Stewart Punch
Cricut goat from Animal Kingdom
Creative Memories Large Oval for Title and Journaling block
Prima Flowers
Flower shaped brad by the Paper Studio
Miscellaneous Stamps & Ink (I think Mindy's Zoo for the vines and assorted stamps from the dollar bin for the other accents.)
Thanks for looking! Let me know what you think!

Best Friends Layout

I have been overwhelmed lately with all of the photos that I have to scrapbook. I am definitely one who likes to feel like I am caught up! And I used to be completely caught up. I used to take pictures just so that I could scrapbook! But that was a year ago, and now I am a whole year behind! It's making me crazy I tell you!


Well, in an effort to condense the amount of scrapbooking that I have to do, and try some new scrapbooking techniques, I have decided to change the way that I scrapbook some events. Like birthday parties for example :)

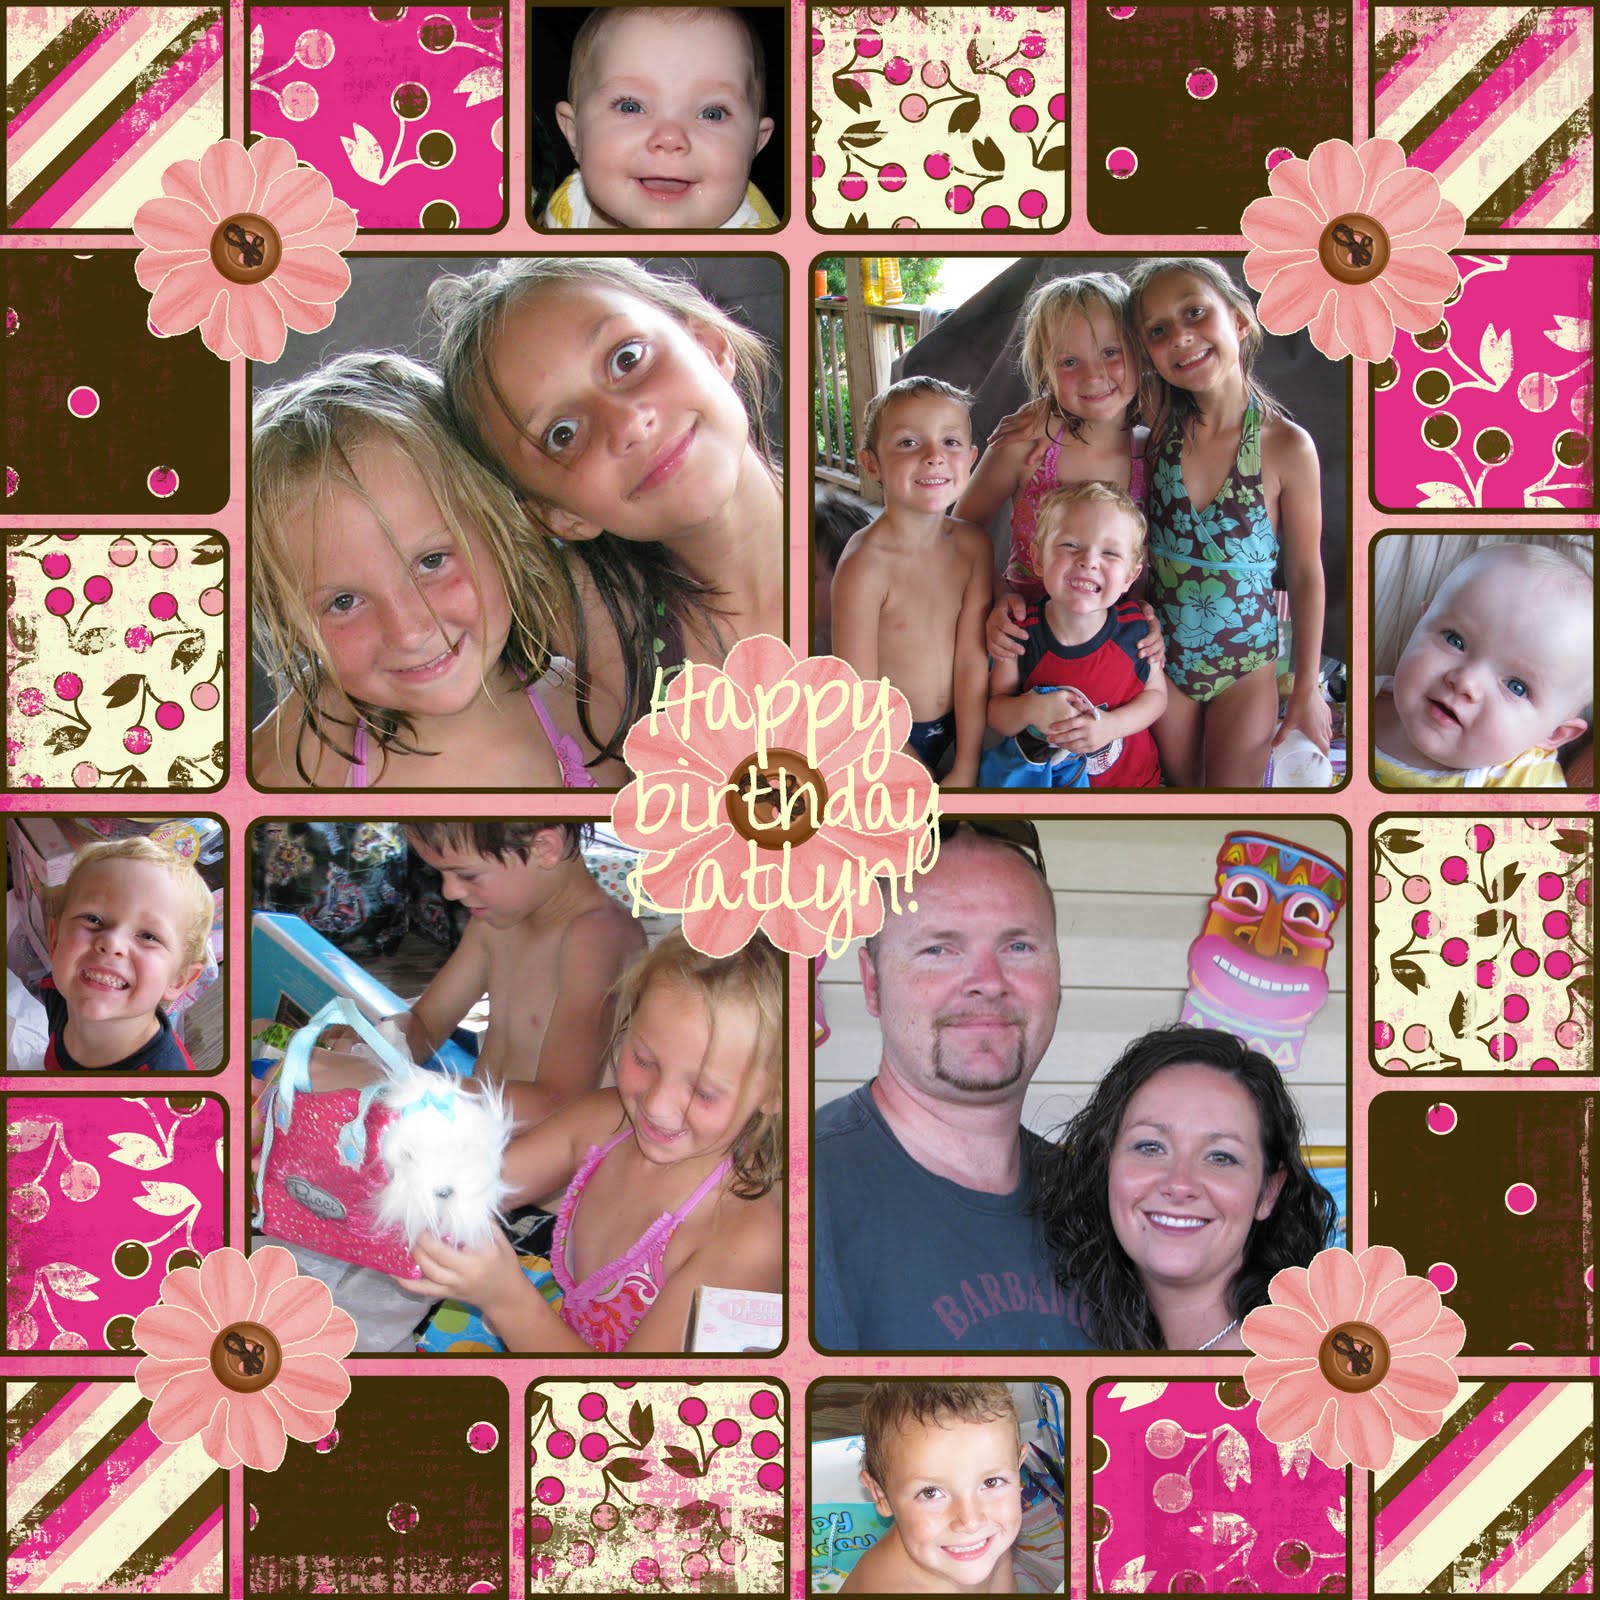
In 50 years when my kids are looking back through the scrapbooks that I have made for them, I do not care if they remember every single birthday that they attended. I do however want them to remember the relationships that they had at every stage in their lives.


The pictures that I used in this layout are from my daughter's best friends birthday party. I think that Kalyn and Maddie have been best friends since Maddie started going to our church. It was really a cute party, but the "party" is not what I wanted the focus of my layout to be. I wanted my layout to showcase how much fun Kalyn and Maddie have together when they are able to have a playdate - they always dress up! It just so happened that at Maddie's party, all the guests were dressed up as princesses. They had a tea party and each girl also made a "best friend" mini card album. Using the title "Best of Friends" seemed like the perfect title to help describe the relationship between Kalyn and Maddie and it also reminds me of what they did at the party. In my journaling, I highlighted the party details, but at first glance, you would have no idea that this layout was actually for a birthday party.


The next time you are ready to scrap some photos, I challenge you to rethink how you can present your photos to be relevant to your whole life - and accurately represent the memorable relationships in your life, instead of just the random events.


If you have any questions about how I actually created this layout, feel free to leave your question in the comment section! Have a great Wednesday!

Buckaroo Layout with tips on using buttons & making your photos go further


Here's another layout that I worked on earlier this week. My sweet little baby riding the horse :) I love his expression in these photos! I used some earthy colored paper that my friend Mariah gave me along with some solid blue and light brown cardstock. I just love these themed buttons that I got from Michaels a few days ago. Remember that you don't have to always limit yourself to the scrapbooking departments to find embellishments for your layouts! Buttons are one of my favorite types of embellishments because they are so versatile. There are so many ways that you can use them in a layout, and there are so many different ones to choose from! All of the buttons in this package had a shank on them that I just trimmed off with a wire cutter. They attach securely with a glue dot. I resisted the urge to de-masculinize this layout with my primas and instead opted for an inked and plain scalloped edge on my title (which I cut in the Holy Cow font from Cutting Up on my Expression) and a simple star border for an accent.

Another quick photo tip for you -- remember how I said that I love his expression in these pictures? Well truth be told - both top pictures are cropped from the bottom picture. I zoomed in at different ranges with my PSP software and printed them all. It's kind of like a progression, from far out to up close. Having a camera with high mexapixels allows me to crop my photos and not lose their quality. So how does this help you? Well, if you have ONE photo that you love, try to crop it from several angles to make it look like there are more photos. I am so not a one-photo per scrapbook page layout kind of person, so this was a great solution to only having one photo of a particular event.

I hope you can try this soon with your photos! As always, if you have any questions, leave me a comment and I will get back with you! Have a great day!

Pajama Party Musical Scrapbooking Layout


Click on the photo to see it in more detail. Sorry it's so blurry looking up close. I am going to try to take a new pic tomorrow and I will change it then!

I just love this layout! The bright colors, the new techniques I tried, and of course my children make it one of my all time favorites!

Having a large diecut item is quite the scrapbooking trend right now and this is the first time I tried it on one of my layouts. I used a flower (from WIMG) and layed it on my page so that the upper and left sides could be trimmed away. I grouped all of my photos together and placed them inside the flower. Grouping the photos in an arrangement like this is new for me too. Typically, I would print all photos from an event, crop them individually and then arrange them over and over until I was happy with the positioning. Instead of the usual, I picked my photos, arranged them and built the page around them. I have really tried to narrow down what photos I include and print. I have stacks and stacks of pictures that I randomly printed and never used. What do I do with all of those photos? Nothing! What a waste! It can be super hard to cut down on the photos that I scrapbook, but I keep telling myself if I can save on the printing, I will have more to spend on embellishments! Funny how we justify things huh? Anyway, here lately, my favorite size print is 2x3 and I get them at the Kodak machine. It's quick and I am really happy with the quality. Enough about the pictures, right?

Another thing that I commonly do when scrapbooking is limiting myself to only TWO coordinating patterns, and doing everything on my pages from just those two patterns. I usually fill in ALL space with photos and journaling. I have seen layouts with "white/open space" and love how it draws your attention to the photos. In this layout, even though there is a striped pattern everywhere, it still functions as the white space because there's nothing there to visually distract you. I stepped out of my comfort zone by adding in two coordinating solid cardstocks for the flower and title land I also kept the embellishments minimal. Using just a couple of layered primas, a little strip of ribbon, and a border strip from a coordinating patterned paper finished my layout nicely. For my title, I cut it on the cricut and then ran it through the cuttlebug with the swiss dots embossing folder. I inked it to add even more definition. After doing all this, I thought the layout was lacking something, so I decided to add some faux stitching along the flower edges. I am really pleased with how this turned out! I hope that you will let me know what you think about it in the comments section! Have a great night!

Amber

New Valentines Layout

Sorry I haven't posted any this week, but I promise I have been working super hard :) I have designed two hunting scrapbooks (keep your eyes out for this one!) and several scrapbooking layouts. I want to share one of the layouts that I created today. Don't look too close because I actually have to have the pics reprinted. Target's photo machine was not cooperating with me tonight. Anyways...this layout was inspired by my friend Lindelon February Challenge. Check out the challenge here. Remember you can click on the picture to see it in more detail. Let me know what you think! I love using challenges as a starting point to designing a scrapbook page. Keep 'em coming, Lindelon!


Materials Used:
  • DCWV patterned paper from the Spring Stack 2008
  • DCWV Red Cardstock for title (Cuttlebug Fairy Alphabet) and mattes
  • Random buttons and fiber from my collection
  • Cricut Accent Essentials for heart shape
  • Lots of yummy embossed Primas